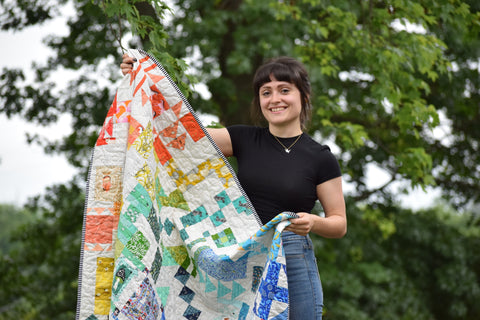
How do you feel about binding? Love it? Hate it? Just never learned the best way to do it? Binding can definitely be intimidating, but I am going to show you step by step how to attach your binding to your project and how to get great sharp corners in the process.

Let's get right into it!
I am adding binding to some fun quilted coasters.

1) Grab your binding (same with both single and double fold), open it all up and fold the end down as in the picture to form a little triangle.
2) Trim the excess fabric away to leave just a small folded edge as in picture #2
3) Start sewing it on using a 1/4" seam allowance.

1) Sew along the edge of your project but stop your stitched 1/4" from the end. This is VERY important if you want nice clean corners! If you need to, take a ruler and mark 1/4" from the end so you know exactly where to stop.
2) Now we'll fold out binding to start sewing the next side. First, take your strip and fold it up and away towards the right (revealing the front of your binding) as shown in picture #2.
3) Take that strip again and fold it back towards your project, aligning it with the next edge of your project. The fold should align with the first edge of your project as shown in picture #3. When you start stitching on this next side, start 1/4" from the end! Always leave 1/4" unstitched!

1) Keep stitching around your project, making sure it aligns nicely with the edge and make sure you leave 1/4" at every corner!
2) When you arrive back at the beginning of your binding, trim away any excess fabric so that you just have a little overlap.
3) Stitch that bad boy down!

Now you are ready to stitch the back! You can machine stitch or hand stitch the back. Hand stitching takes more time and I find it therapeutic so that is my preferred method. I recommend using a ladder stitch for hand stitching. Machine stitching is also great if you need to quickly finish your project. Here's how I machine stitch the back.
1) Fold your binding towards the back of your project. Take a moment and poke out your corners to reveal your awesome corners! You can use the stitch you created sewing the binding to the front as a guide. Your binding should just cover that thread.
2) Clip your binding in place so it doesn't shift about too much while you are stitching. I take a little extra time to make sure the corners look nice before I clip them down.
3) Start stitching! Stitch from the back and start as close to the edge of the fabric as you can. In the end, we want our stitch to be just over the edge of the binding on the back but not showing on the binding on the front. As you sew, keep pulling your binding tight to the back.
Here is the look we are going for:

As you can see, the stitching on the back is placed just over the edge of the binding and on the front the stitching is sitting nicely right next to the binding.
When you finish your stitching and turn it over to reveal stitches on the front binding, don't worry! Everything takes practice and you will get there! And if you stitch a little on the front binding and you are OK with that, more power to you! You don't always have to make everything perfectly. The most important thing is that you are creating and that you are enjoying the process.
In fact, you'll see in my video that I stitched way over the front binding. It's OK though! I love my little coasters and thoroughly enjoyed making them, even if they aren't perfect.
Learn better from a video?
I show you step by step the whole process here:
Hooray! You added binding and made super awesome corners too!
I hope this tutorial made binding a little less scary for you. If you have any questions feel free to hit me up!
Check out my tutorial on how to make your own continuous binding HERE.
Although I used to be very intimidated by binding, now I love adding binding to my projects. It results in such a clean professional looking finish.
Stripey binding is my favorite!
Follow along on Facebook and Instagram for all the fun and updates!


